This video demonstrates the steps to setting up a Reading List in a Canvas course, including:
Reading Lists: 1. Setting up (5 mins), RMIT Library Teaching & Research, Microsoft Stream (RMIT login required)


| Note: Reading Lists must NOT be created in DEV shells, only in course shells that have a SIS-ID. If there is not a provisioned shell please contact the Teaching Support team. |


Reading List Collaborators could be Library staff, sessional staff, learning designers, or teaching colleagues.
Note: It's important that Course Coordinators are added as Collaborators to the course Reading List and given "List owner" access. This will assist with the Reading List rollover process that happens for each new offering of the course.
To add a collaborator to a Reading List:


Cite it is a function that allows you to add internet resources to your Reading List using an extension from your browser's toolbar.
To install:

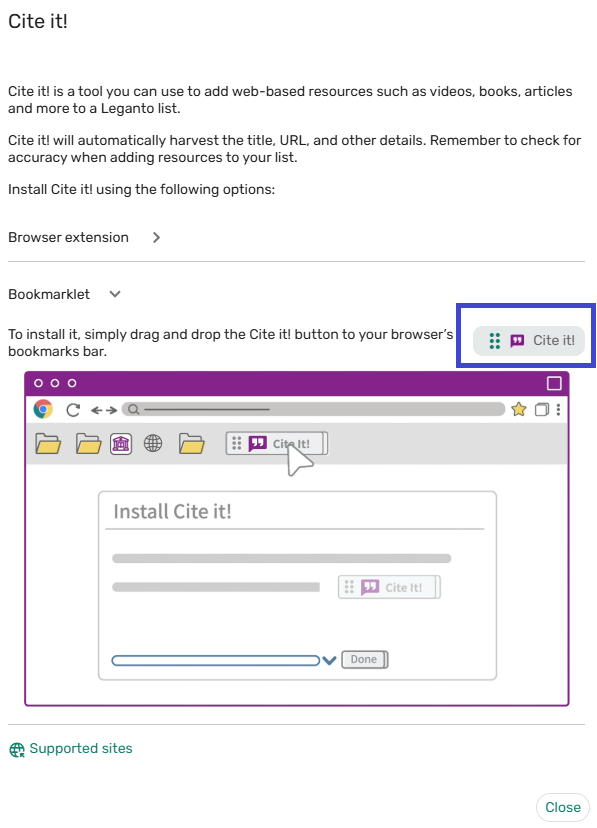
Note: If Cite it does not work properly, try clearing your cache or use another browser. Otherwise, use the Manual entry method.
 This Library guide by RMIT University Library is licensed under a CC BY-NC 4.0 licence, except where otherwise noted. All reasonable efforts have been made to clearly label material where the copyright is owned by a third party and ensure that the copyright owner has consented to this material being presented in this library guide. The RMIT University logo is ‘all rights reserved’.