When you first open EndNote it will ask if you want to create a new library or open an existing one. On a Mac it will just show the top menu toolbar.
|
Note: EndNote creates a .enl file and a .data folder — keep them together in the same location. Mac users, choose “Save as Package” to bundle both files. Use one library to keep all your references in one place. This helps to avoid duplicate records. To organise your references, use groups instead of creating more libraries. |
An EndNote Library has three distinct areas (panels):
Library Overview serves as the central navigation hub in EndNote.
Reference List displays a summary of references depending on the selection in the left panel.
Reference Details provides in-depth information about the selected reference. This panel is where you interact with individual references—view, edit, cite, or read attached documents.
When you have added references, you will see them displayed in the EndNote library summary screen.
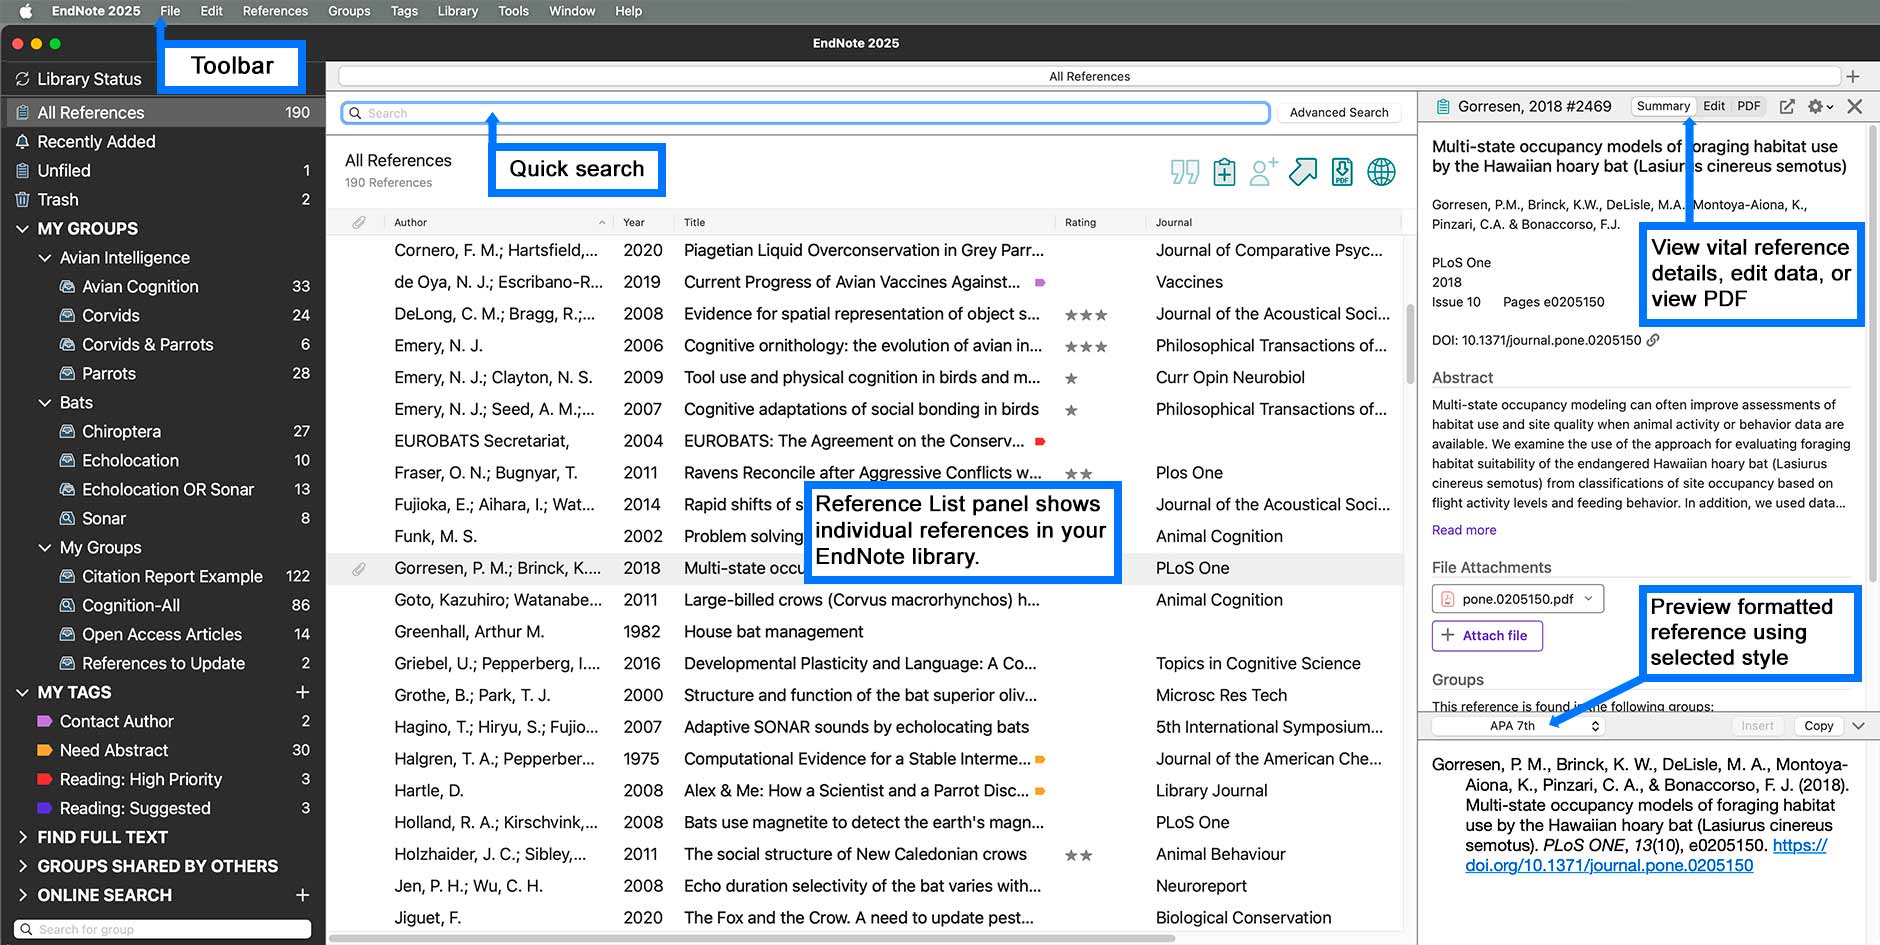
Image: An example of an EndNote Desktop library. Copyright © Clarivate. Used under licence.
 This Library guide by RMIT University Library is licensed under a CC BY-NC 4.0 licence, except where otherwise noted. All reasonable efforts have been made to clearly label material where the copyright is owned by a third party and ensure that the copyright owner has consented to this material being presented in this library guide. The RMIT University logo is ‘all rights reserved’.