You can quickly find references in the middle panel of your EndNote Desktop library using either Simple or Advanced Search.
Use Clear Search to start a new search.
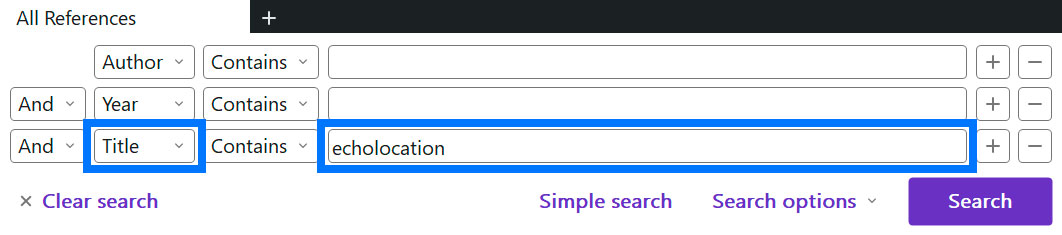
Image: Advanced search function in EndNote Desktop. Copyright © Clarivate. Used under licence.
In EndNote Desktop, you can sort references in the middle panel by selecting a column heading (e.g. Author, Title, Year).
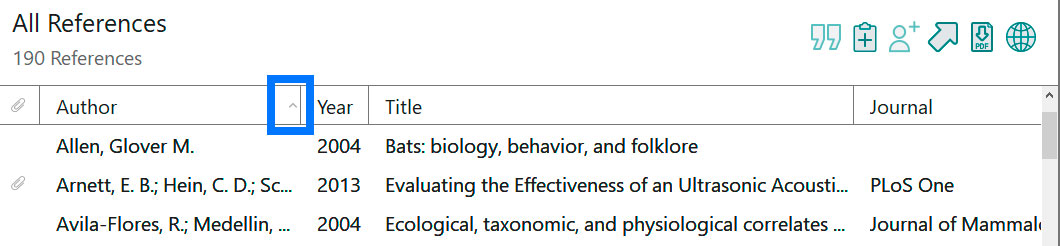
Image: Sort by column function in EndNote Desktop. Copyright © Clarivate. Used under licence.
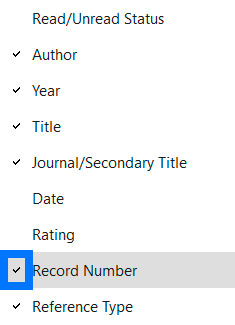
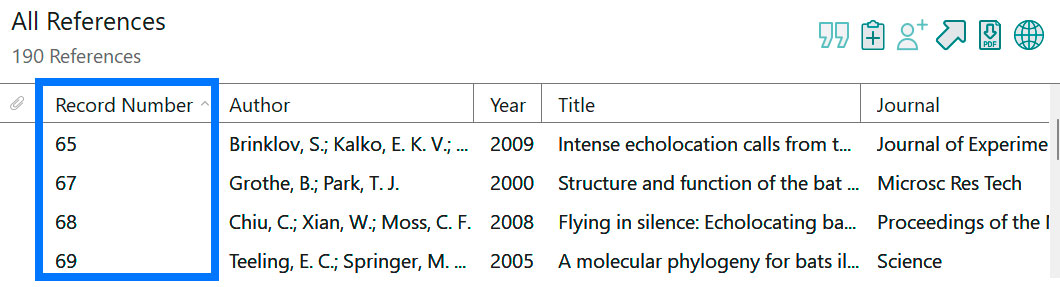
You can add new column headings to give your references more descriptors.
Groups help you organise references into categories like subjects, thesis chapters, or assignment topics. They act like folders but don’t move references — just create copies for sorting.
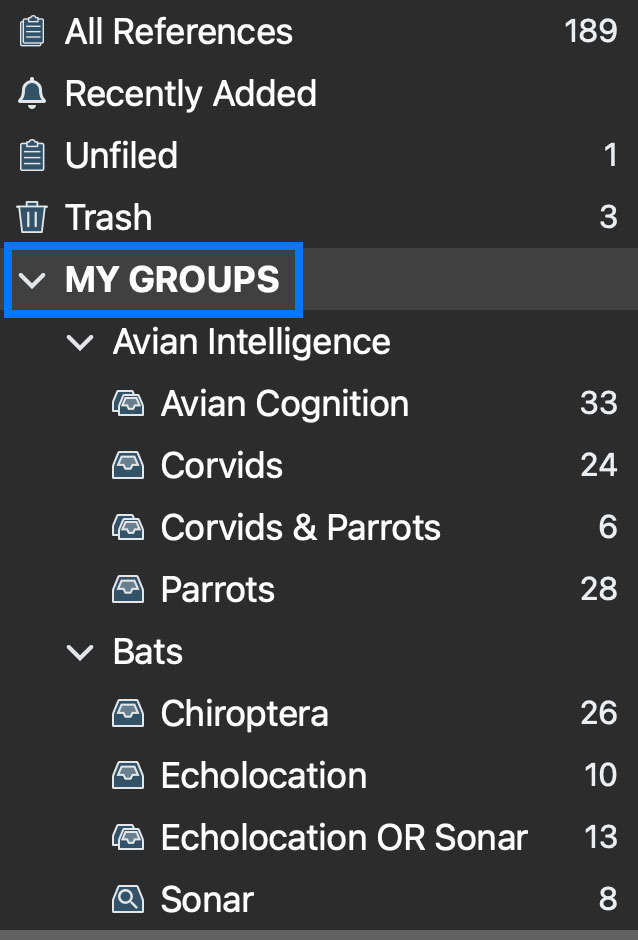
Image: My Groups in EndNote Desktop. Copyright © Clarivate. Used under licence.
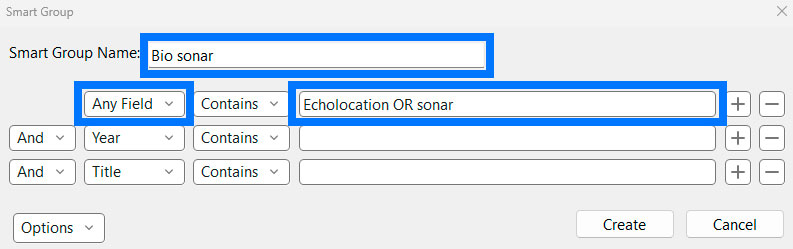
Image: Creating a new Smart Group in EndNote Desktop. Copyright © Clarivate. Used under licence.
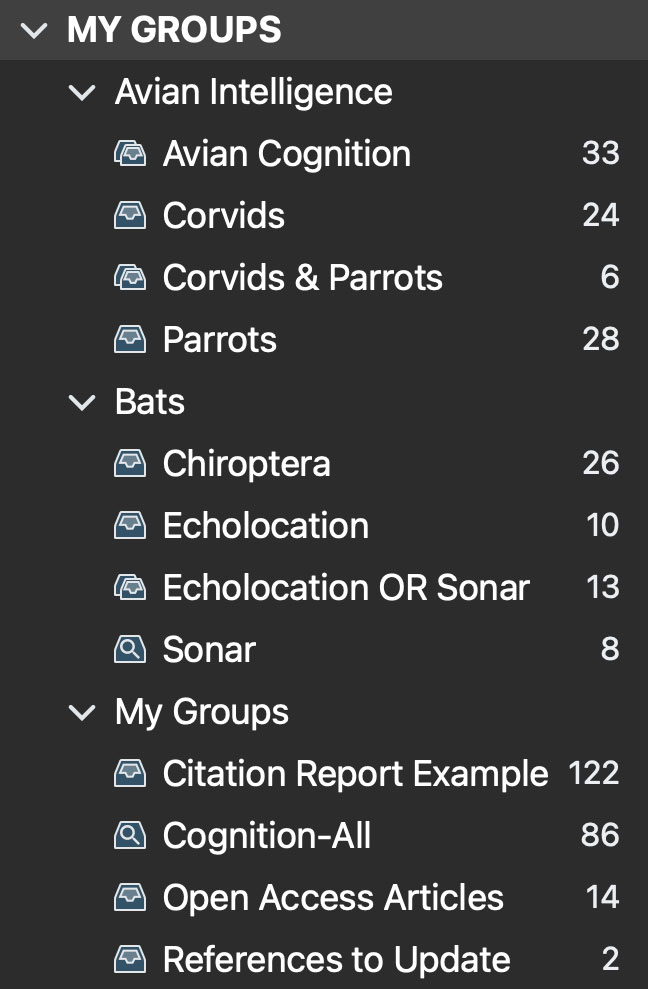
Image: Organise groups in EndNote Desktop. Copyright © Clarivate. Used under licence.
In EndNote there is, in addition to Groups, the ability to add custom colour coded tags to the references in your EndNote library.
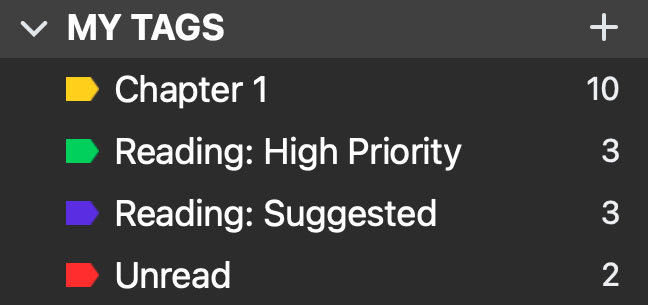
Image: My Tags in EndNote Desktop. Copyright © Clarivate. Used under licence.
Option 1: Drag and drop
Option 2: Right-click method
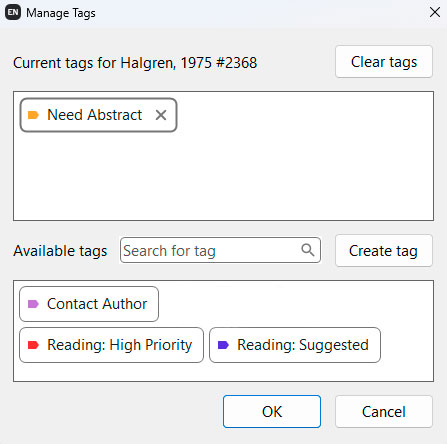
Image: Manage tags for a reference in EndNote Desktop. Copyright © Clarivate. Used under licence.
Go to: Library → Find Duplicates (from the toolbar).
Compare the duplicates side by side:
If you've already cited a duplicate in your Word document:
Tip: To check which reference was used in Word, look at the record number. You can unformat citations in Word to identify this — see Unformatting citations and bibliographies in the Using Word page.
Sometimes titles import with the wrong capitalisation (e.g. all caps, sentence case, or every word capitalised). You can easily fix this in EndNote:
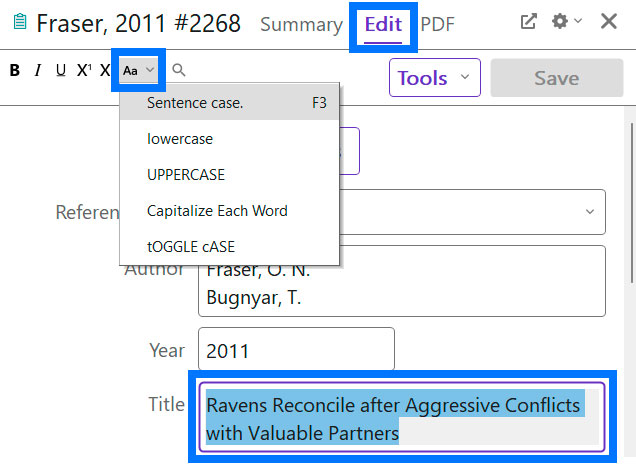
Image: Copyright © Clarivate. Used under licence.
Output styles are used to control the appearance of references in a bibliography. While EndNote will help you store and manage your references, you must still follow the referencing rules. You will find these rules and examples for your recommended referencing style in Easy Cite.
Remember to save the output style to its corresponding sub-folder:
If your style isn’t listed:
Need more styles?
In the Style Manager, select Get More on the Web to download additional styles.
Using RMIT Harvard?
Download and install both the ENS and XML files before selecting the style.
If your required style isn’t available or needs tweaking:
Steps:
To use your edited style:
In Word:
 This Library guide by RMIT University Library is licensed under a CC BY-NC 4.0 licence, except where otherwise noted. All reasonable efforts have been made to clearly label material where the copyright is owned by a third party and ensure that the copyright owner has consented to this material being presented in this library guide. The RMIT University logo is ‘all rights reserved’.